Chicken breast--my son describes it as "A blank canvas". No matter what your cultural background is, chicken probably plays a prominent culinary role. Boneless, skinless chicken breast is enjoying unprecedented favor for its low-fat, high-quality protein at a very reasonable price. Chickens have been bred to meet the public's demand for large, meaty breasts and the efficiencies in the chicken raising business mean chickens can go from egg to slaughter in as little as six weeks, resulting in record low prices.
Consumer demand has also led to new techniques in chicken raising--from Organic, to No Antibiotics Ever (either veg fed or standard), to Cage Free to standard. Regardless of your personal leanings toward chicken husbandry, at some point the goal becomes preparing the chicken for consumption.
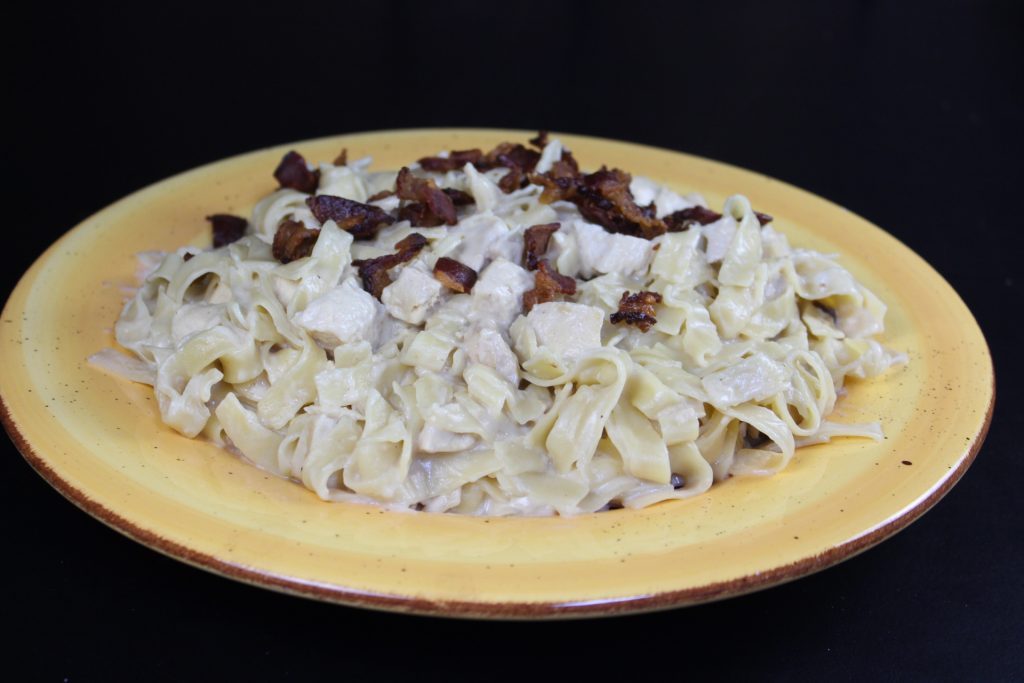
In my busy CPA and mom world, the goal is for dinner to be on the table in thirty minutes. Sometimes that means cutting a corner here or there (like every day . . ). The biggest time-saver for me is to prepare protein items ahead and freeze for those busy nights (which seem to be about every night!!) If you have high-quality cooked chicken breast in the freezer, the opportunities for quick meals are endless!
Too many of us have been disappointed by dry, freezer-burned chicken breast. It doesn't have to be that way, and I'm excited to share what I think is the very best and easiest method of taking advantage of good buys on chicken breast to make your life easier.
.
Fat
Protein

 Save Recipe
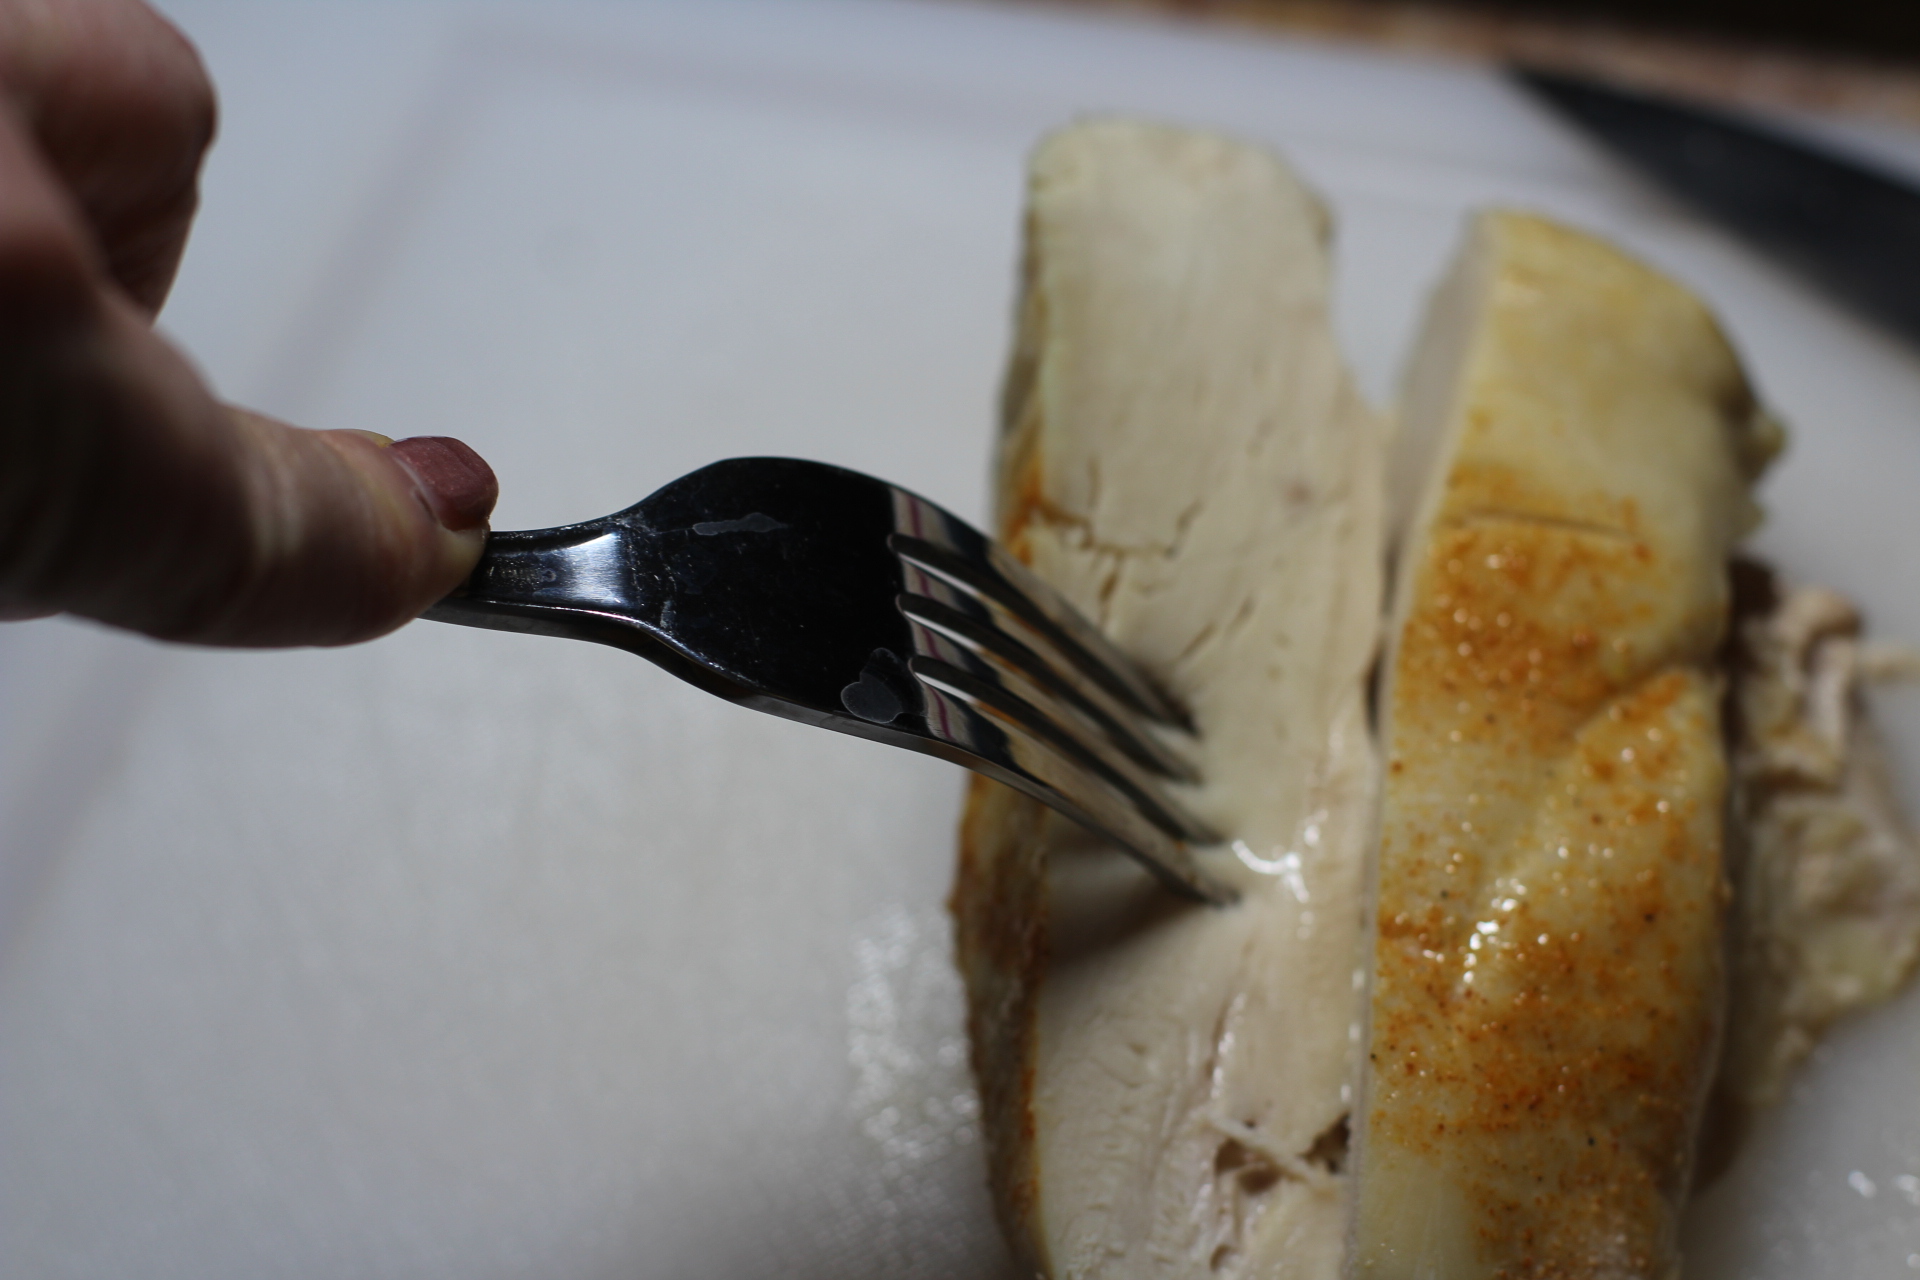
Ingredients
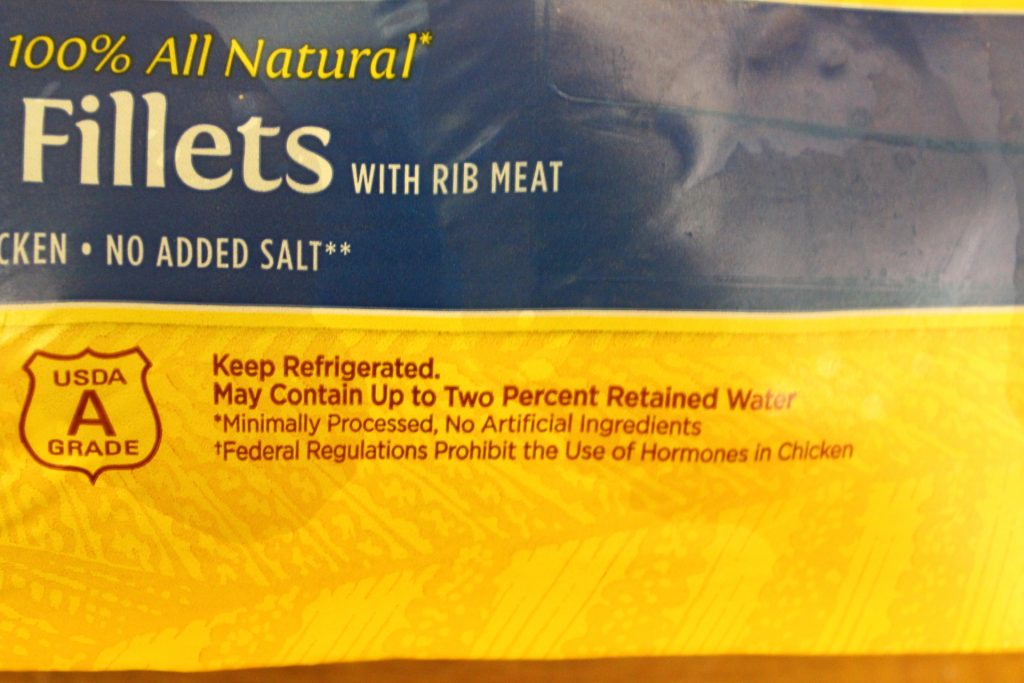
- 10 lb high-quality boneless, skinless chicken breast without added salt and water
- 2 t. seasoning salt (or combination of salt, pepper, onion power, and garlic powder)
- 1 large (turkey size) roasting bag
- Aluminum half-sheet pan or large roasting pan
- 5 T. Ultra Gel®
Instructions
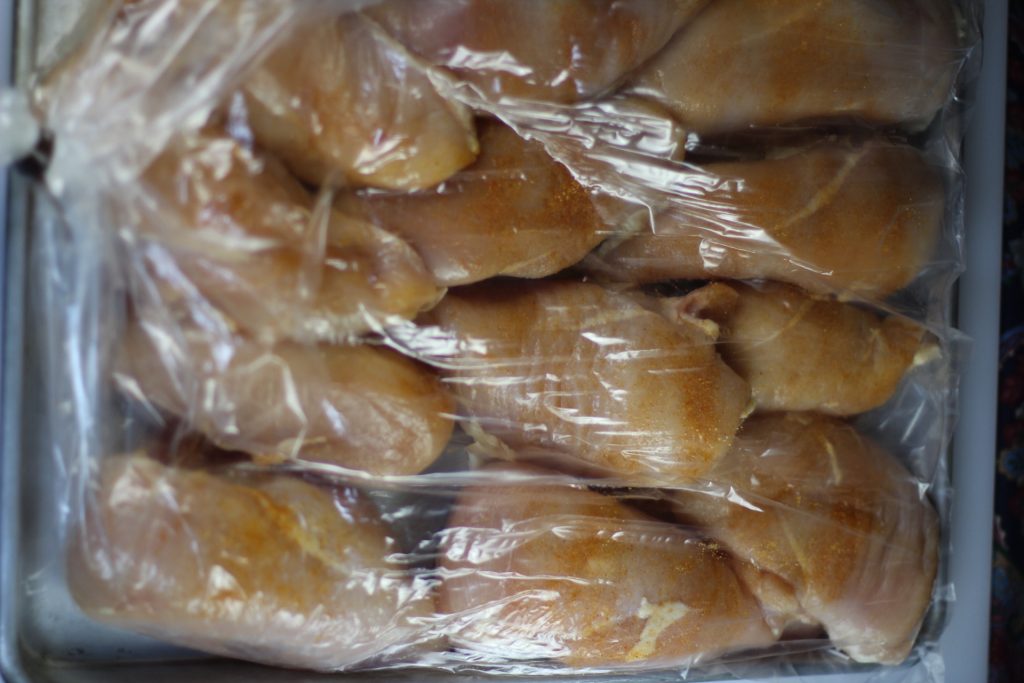
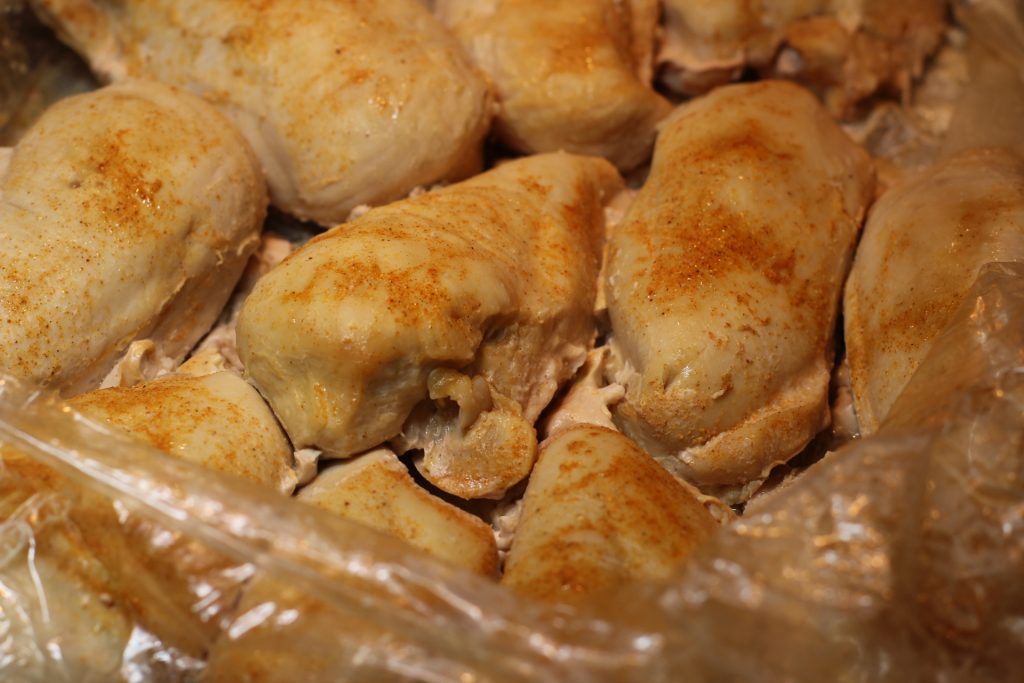
- Position the roasting bag on the sheet/roaster pan and add the chicken breast pieces. Ten pounds will fit on one layer. I have been known to do twenty pounds at a time (two layers) and it can be done in the large roaster bag, but make sure you have a pan with high sides, so the liquid in the bag is supported.
- Sprinkle the chicken pieces with the seasoning salt or other seasonings.
- Close the bag with the provided tie
- Cllp a few holes in the top of the bag per the manufacturers' direction
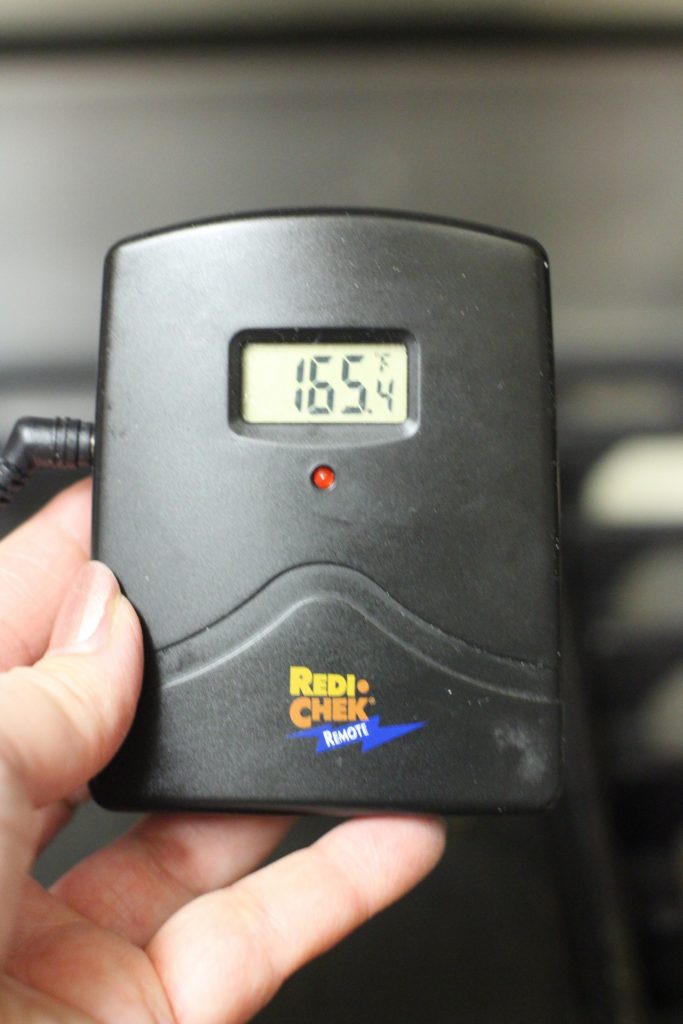
- Roast at 250 degrees until the temperature reaches 165 degrees in the thickest part of the largest breast piece. DON'T OVERCOOK IF YOU WANT MOIST CHICKEN!
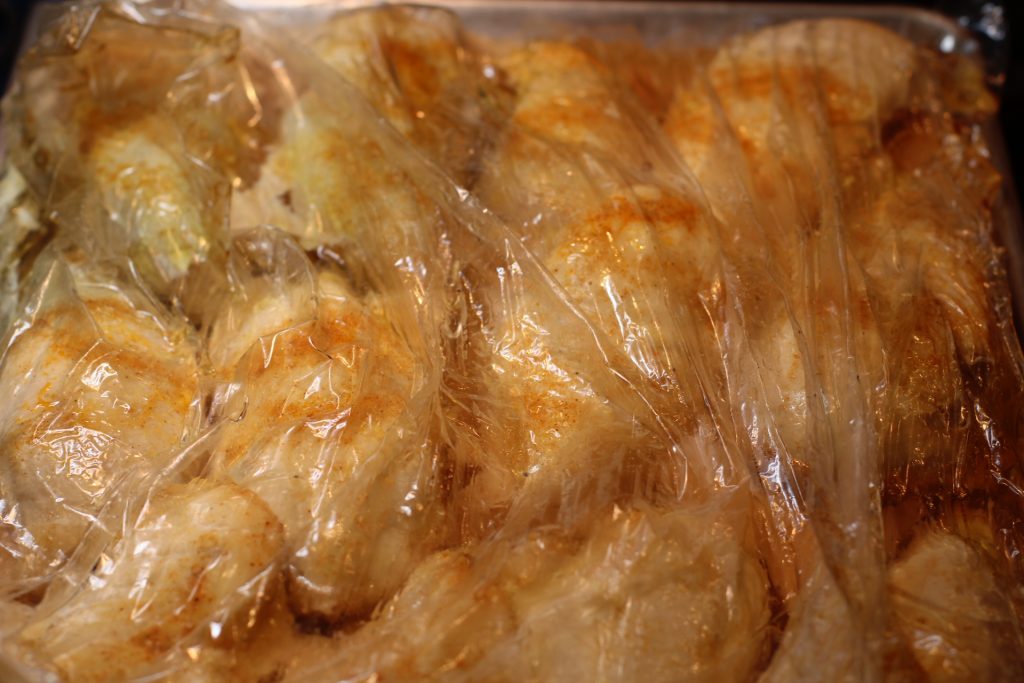
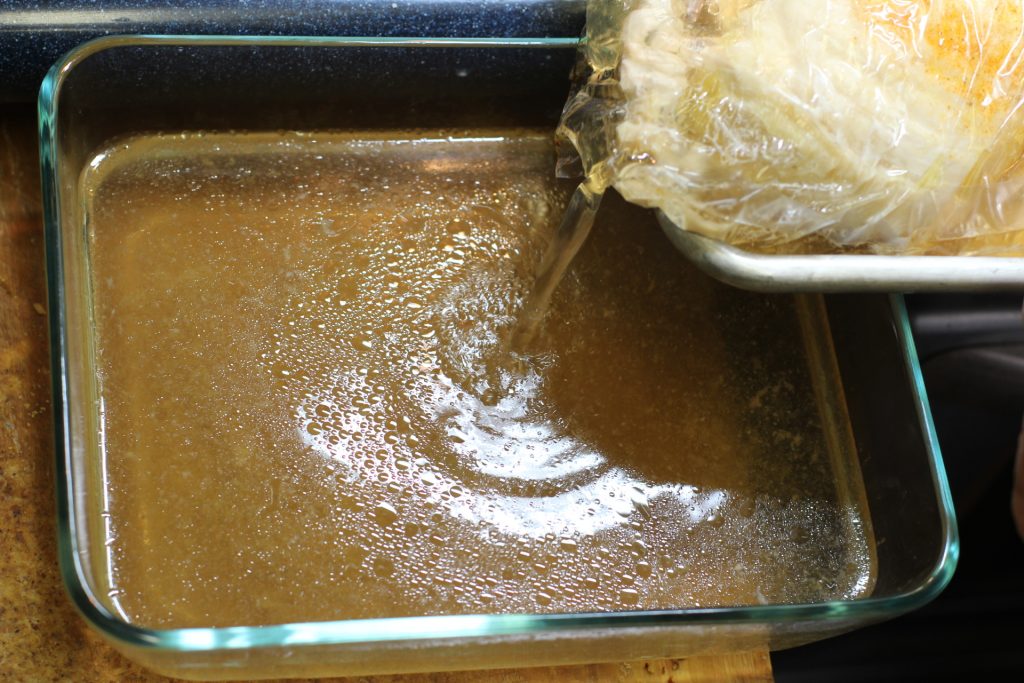
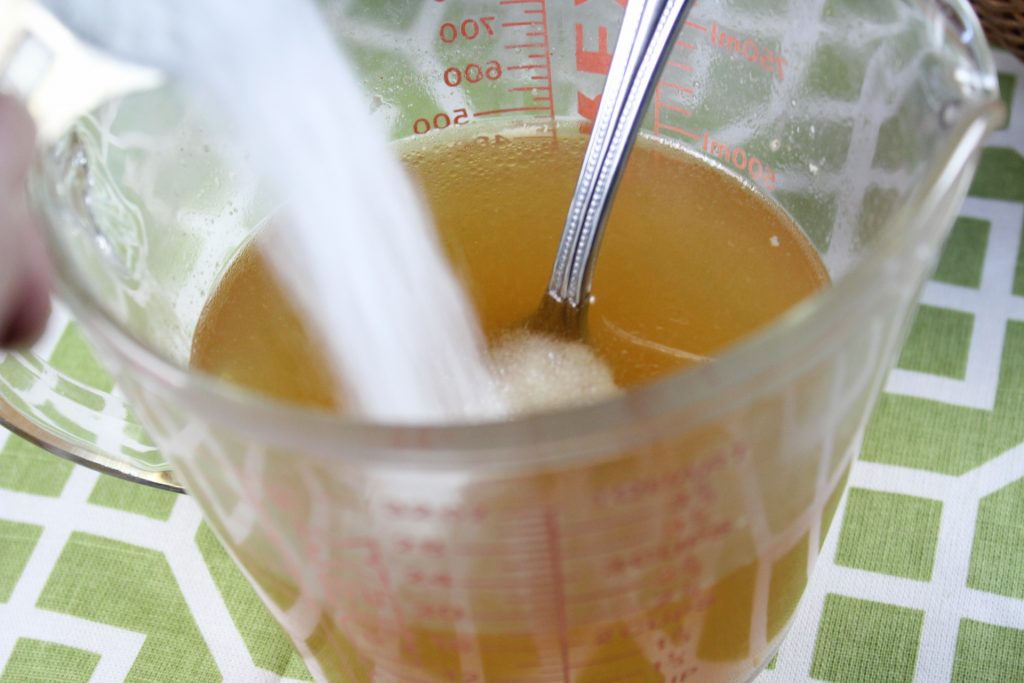
- Allow the chicken to rest in the juices, without opening the bag for one hour. Pour the accumulated juices into a heat-proof container (a 4 cup measuring cup works great).
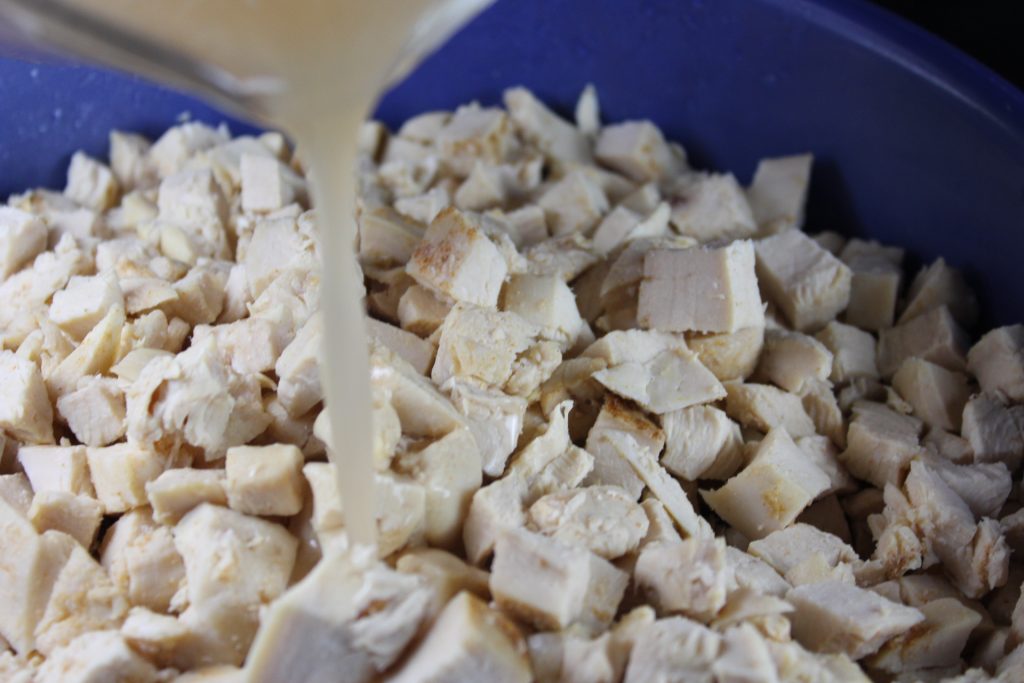
- Measure 2 1/2 cups of the juices, then stir in 5 T. Ultra Gel®. The juices will thicken slightly.
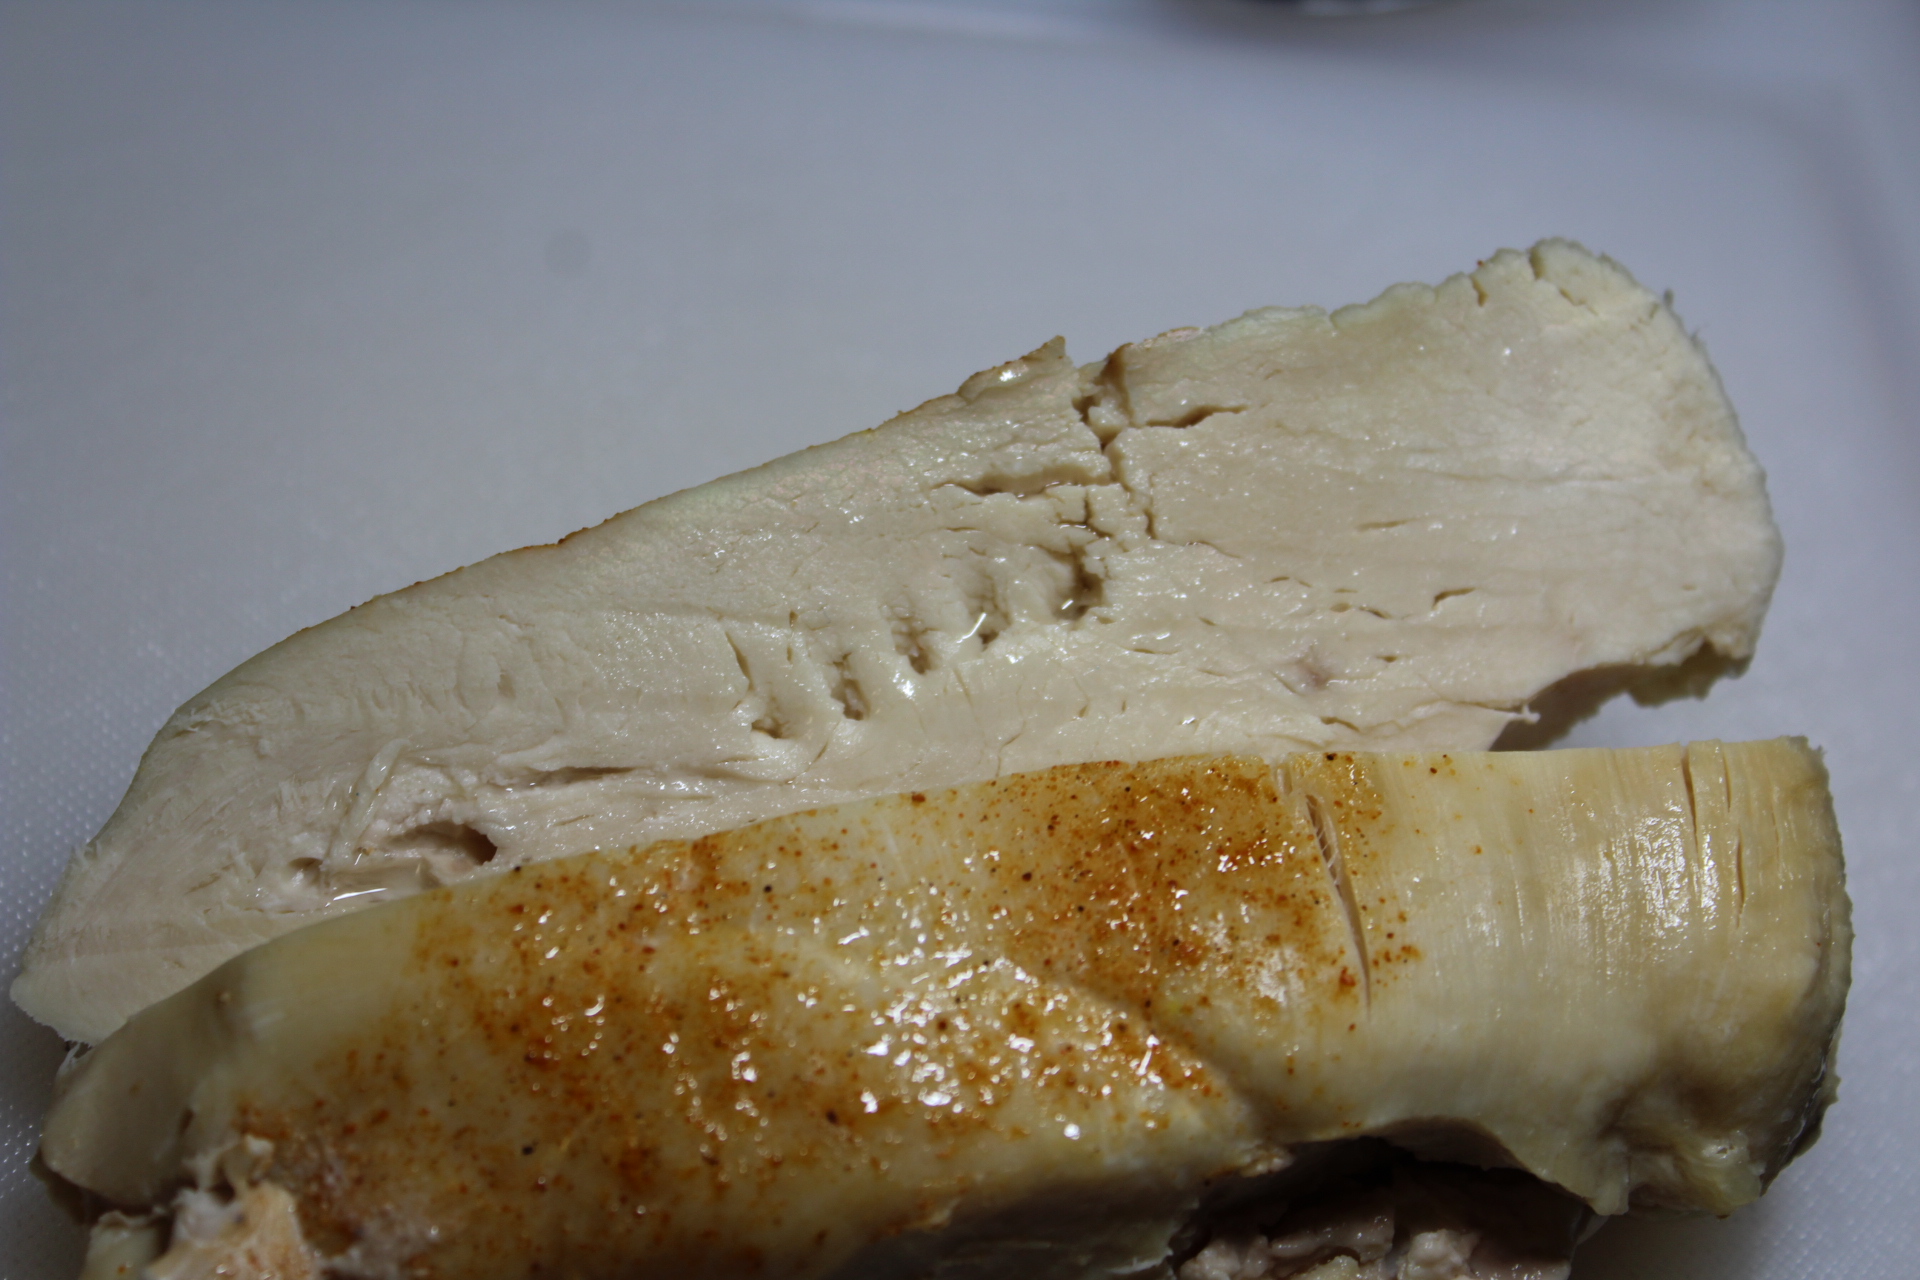
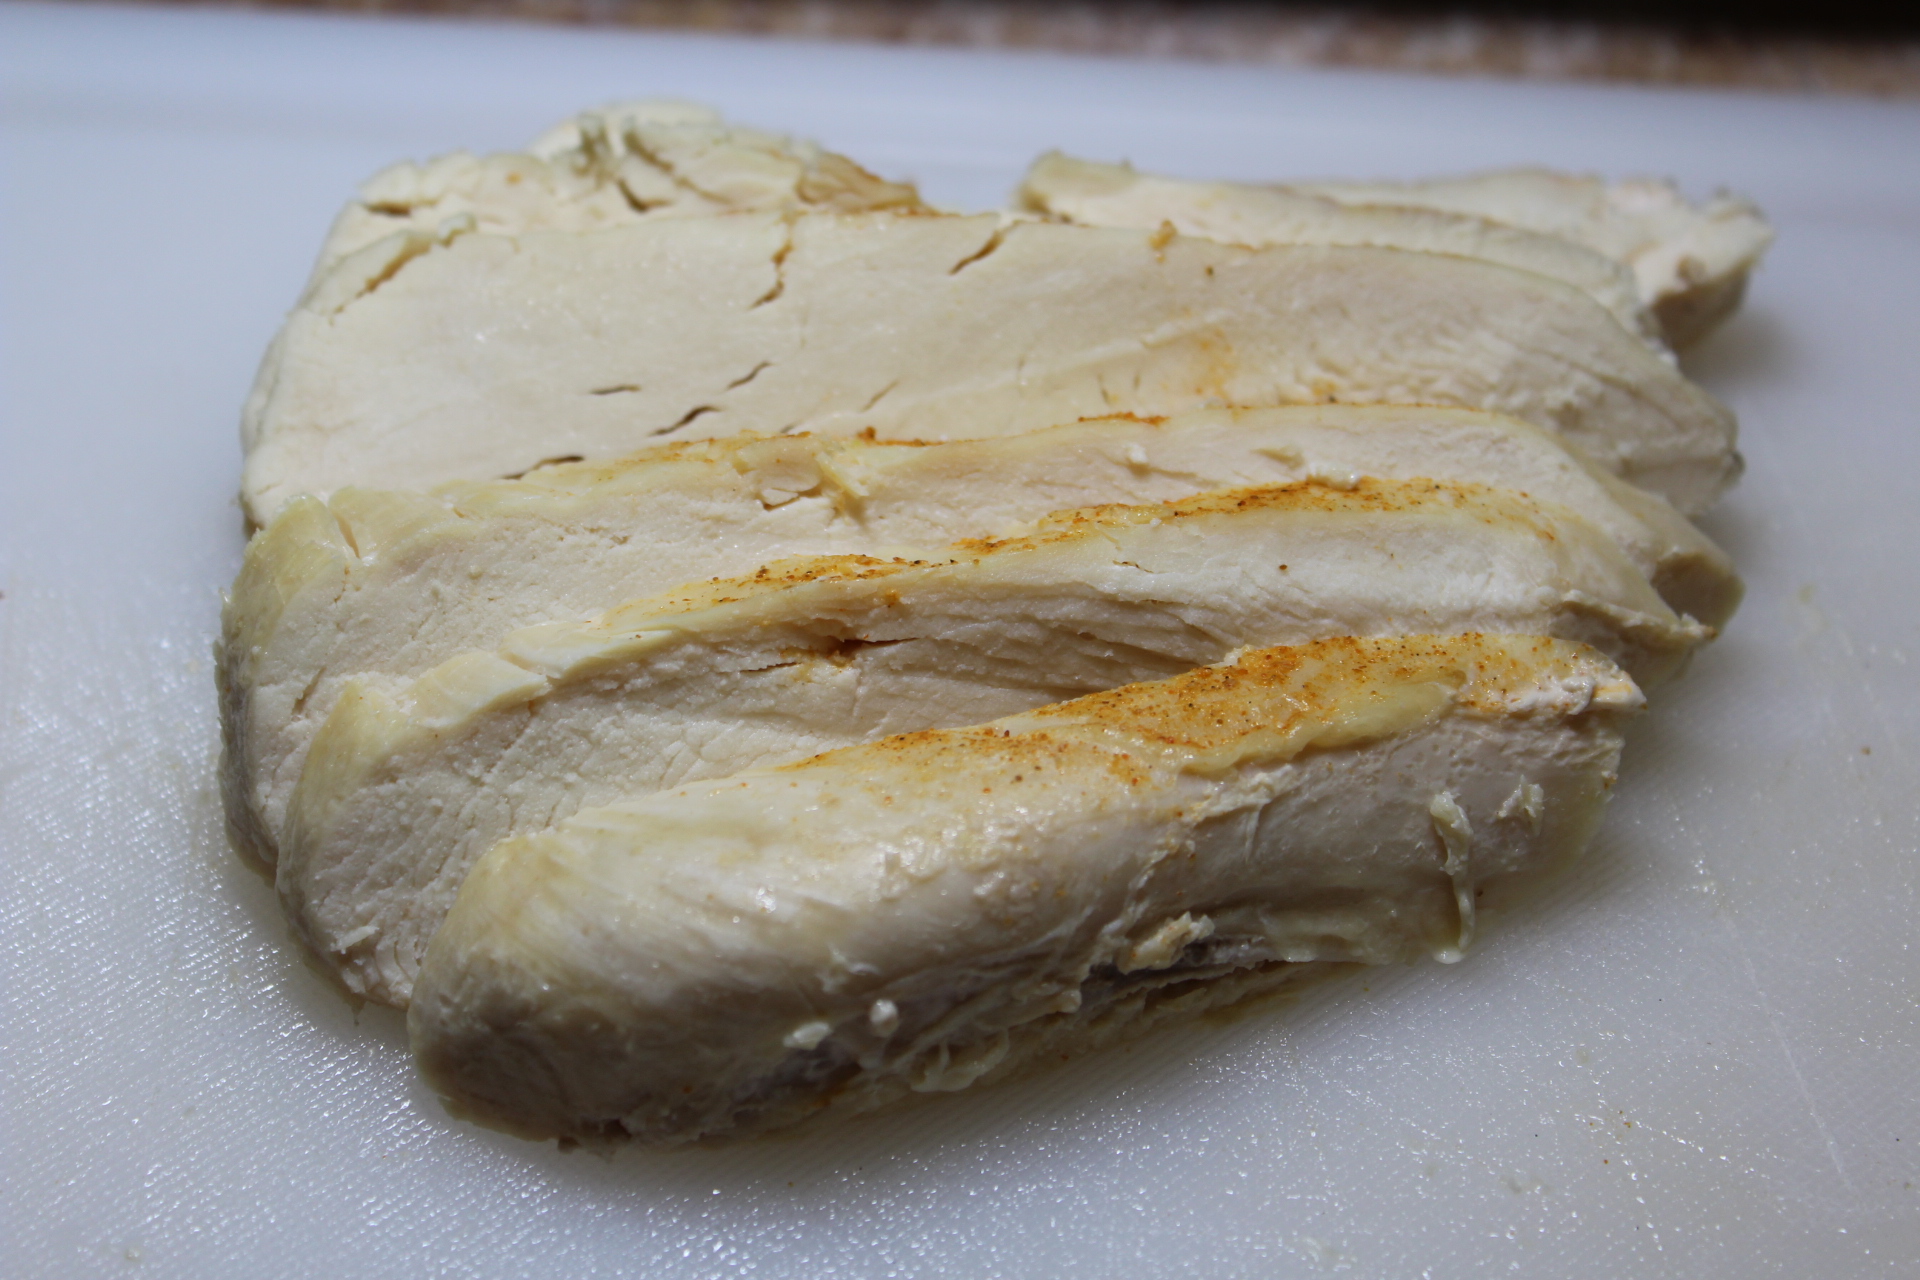
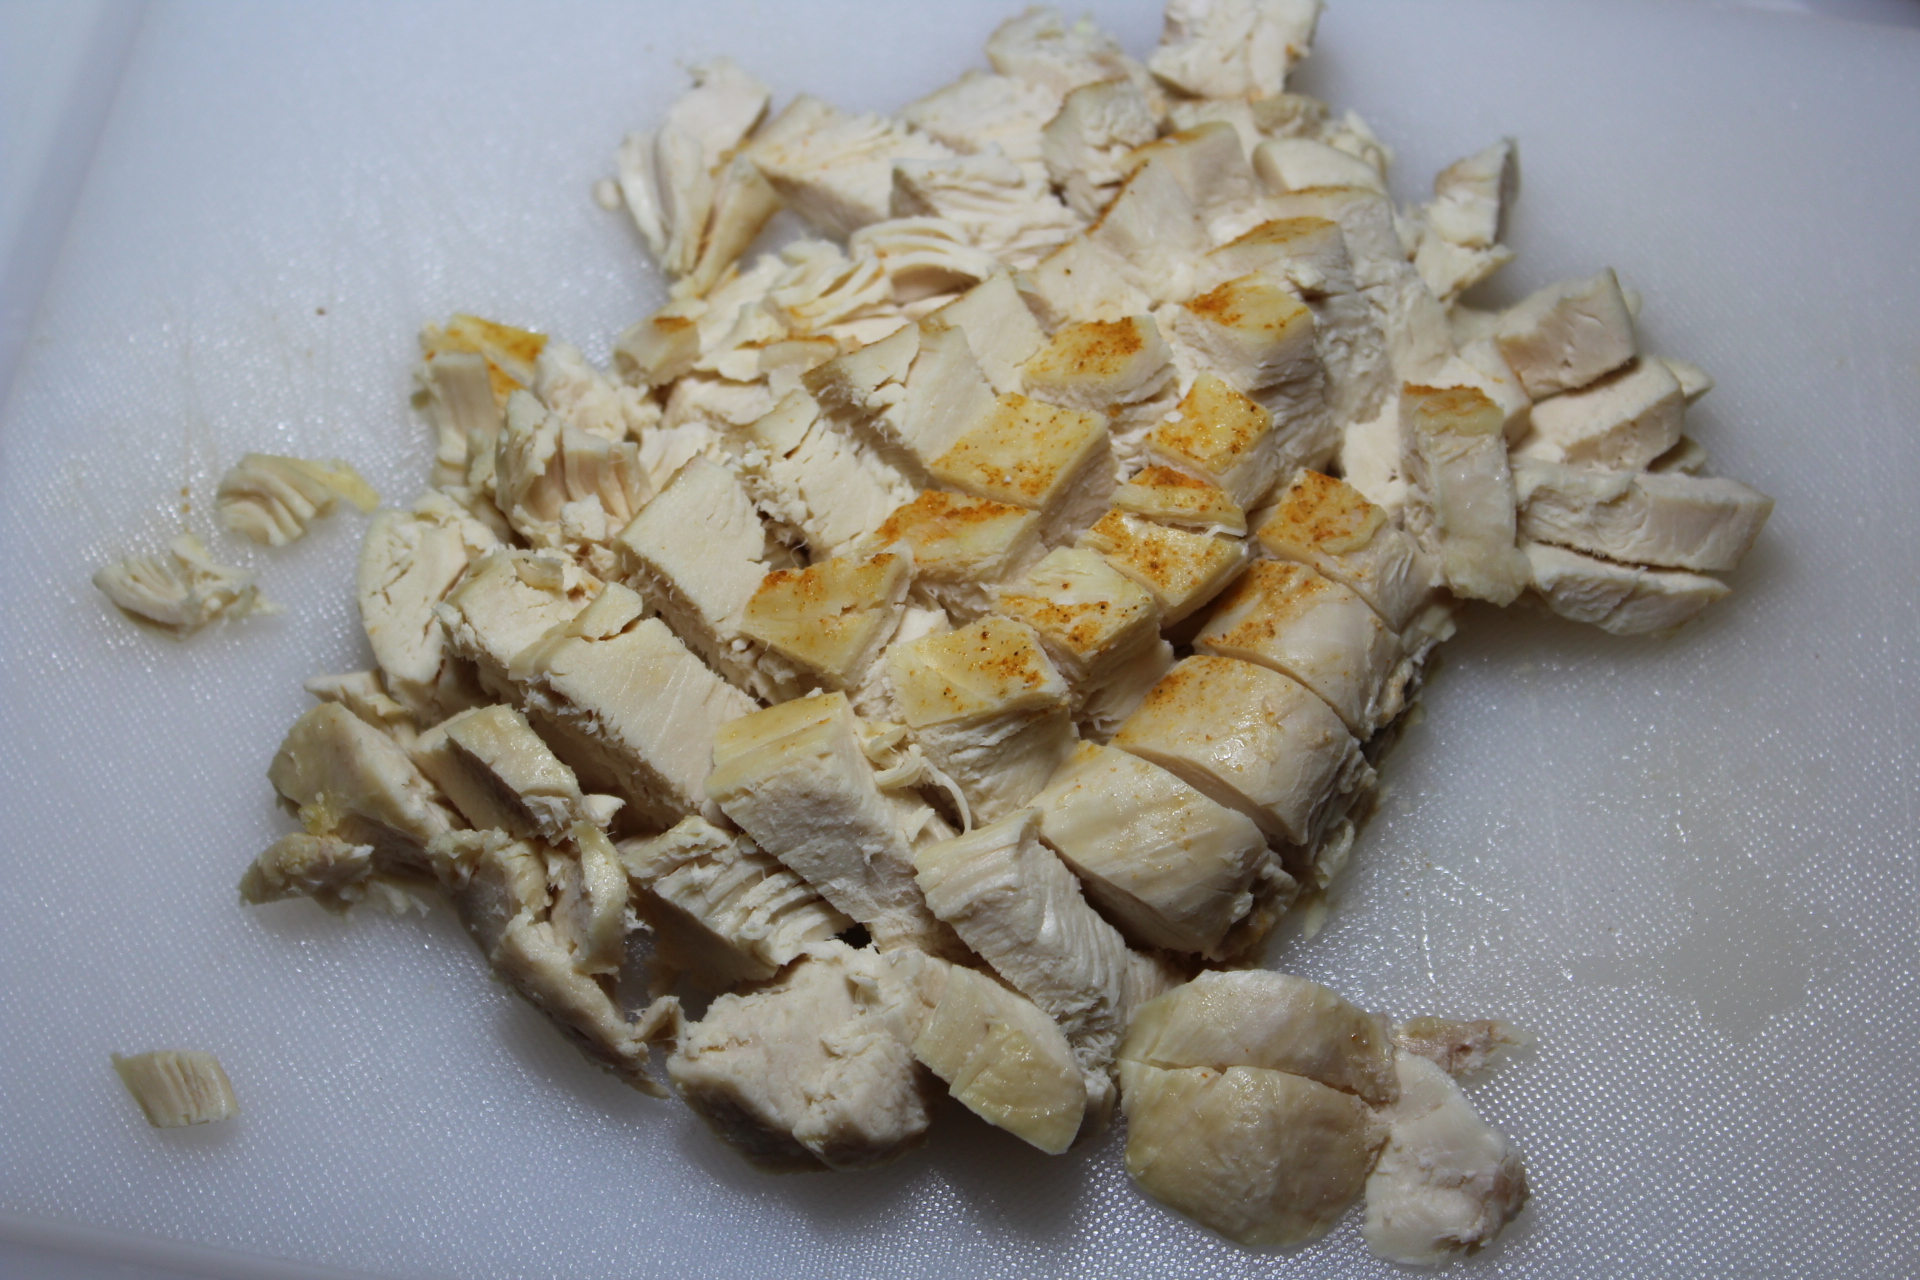
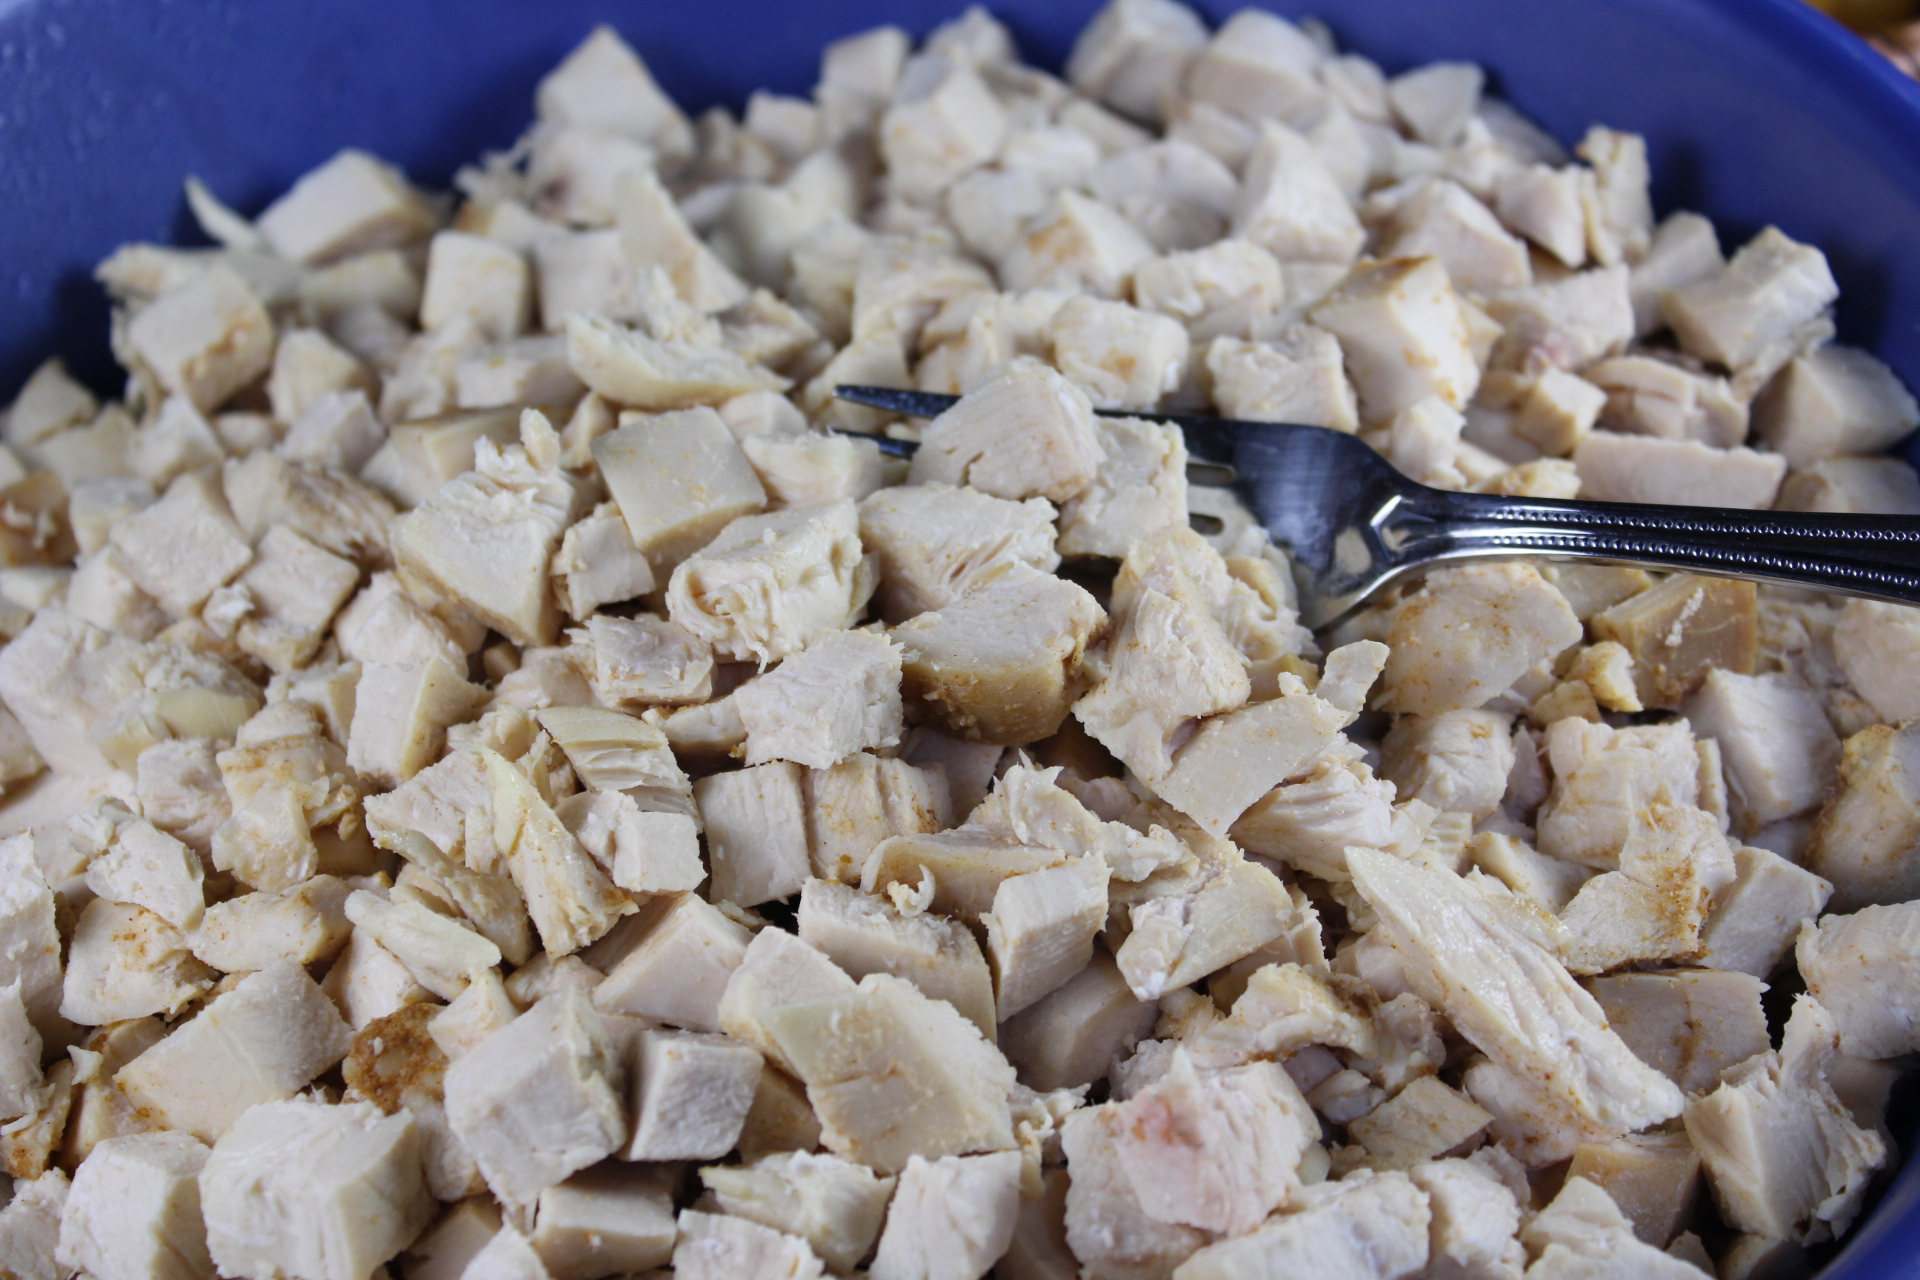
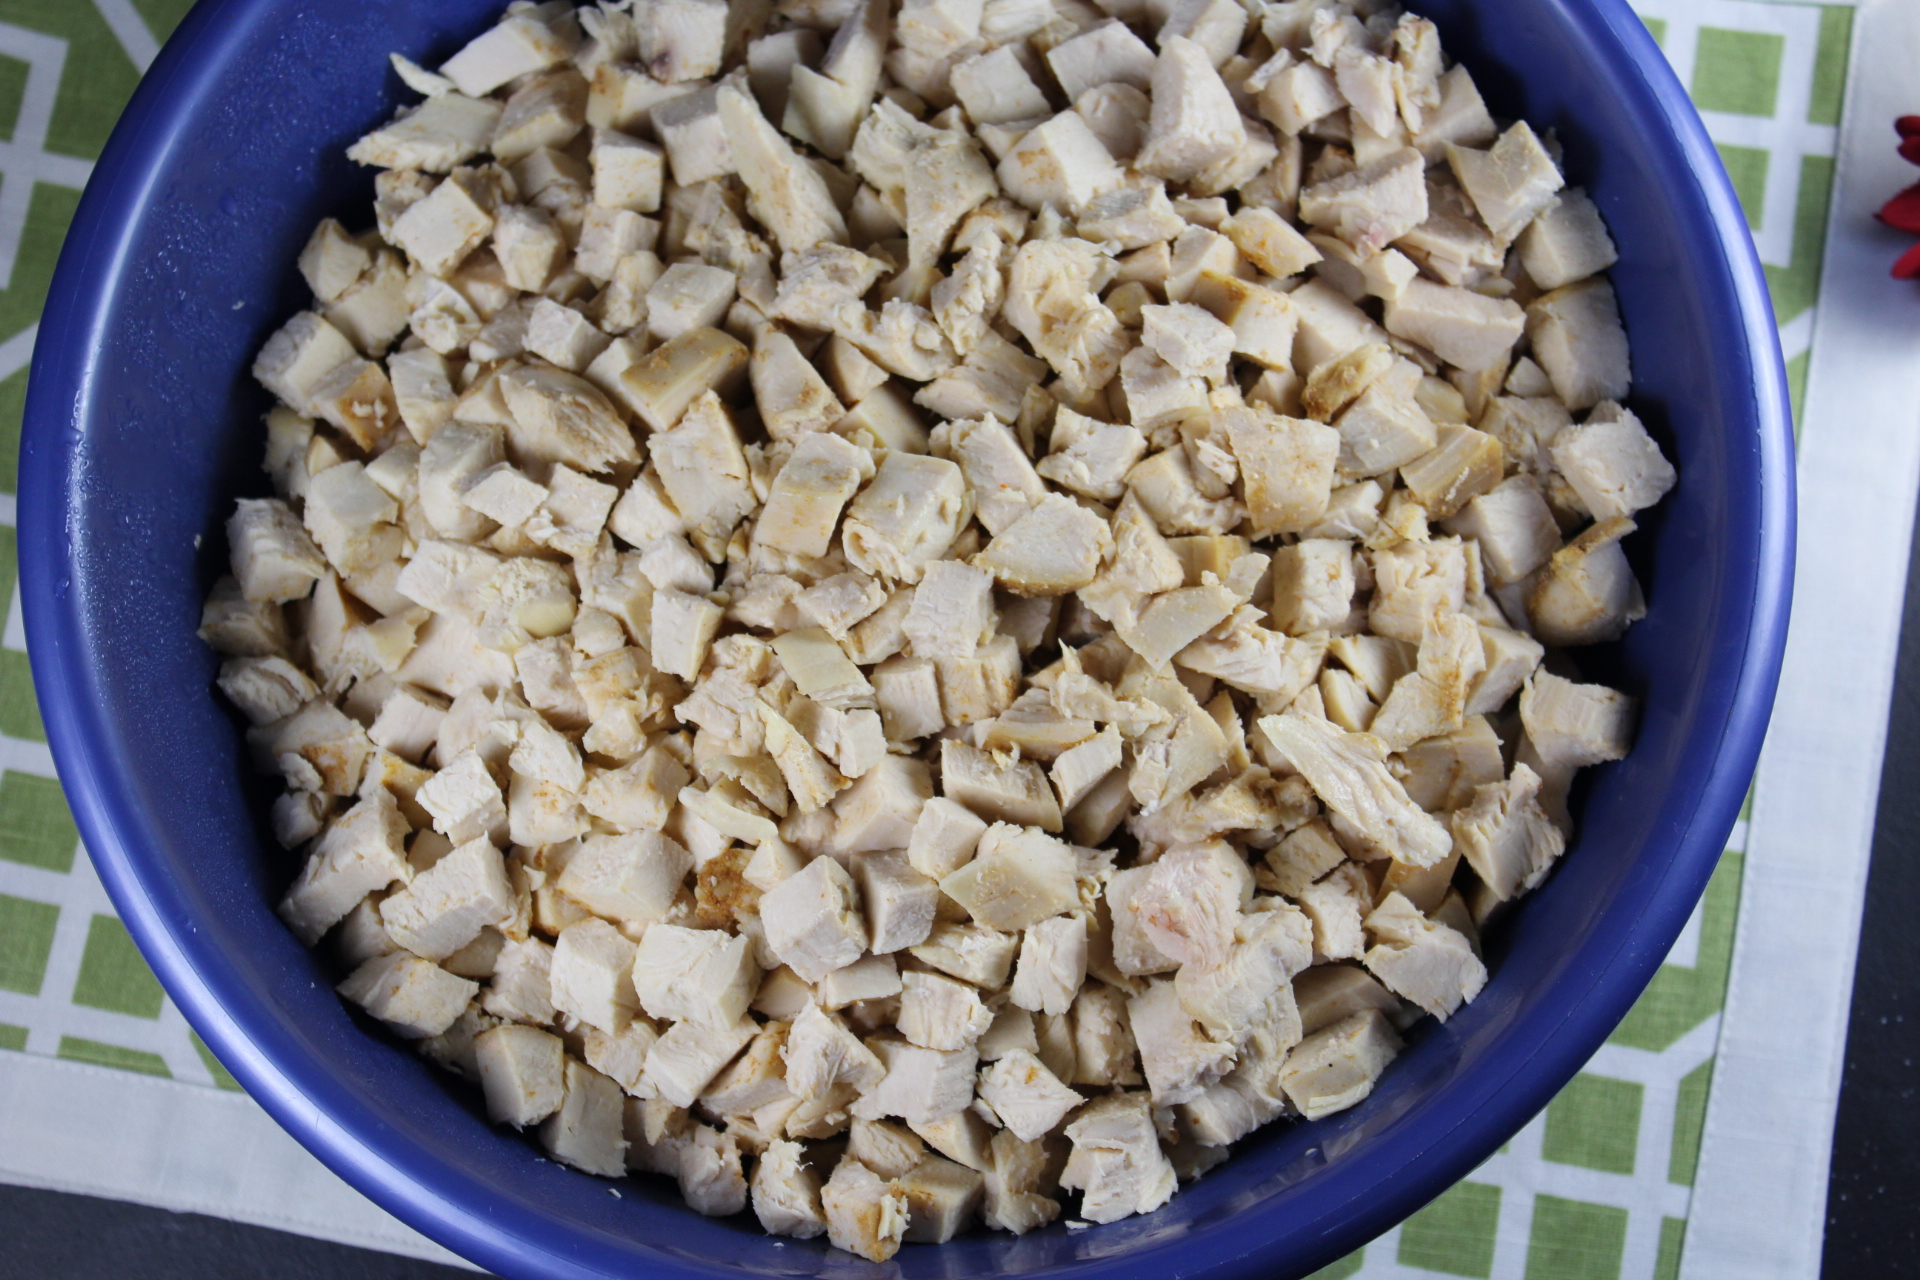
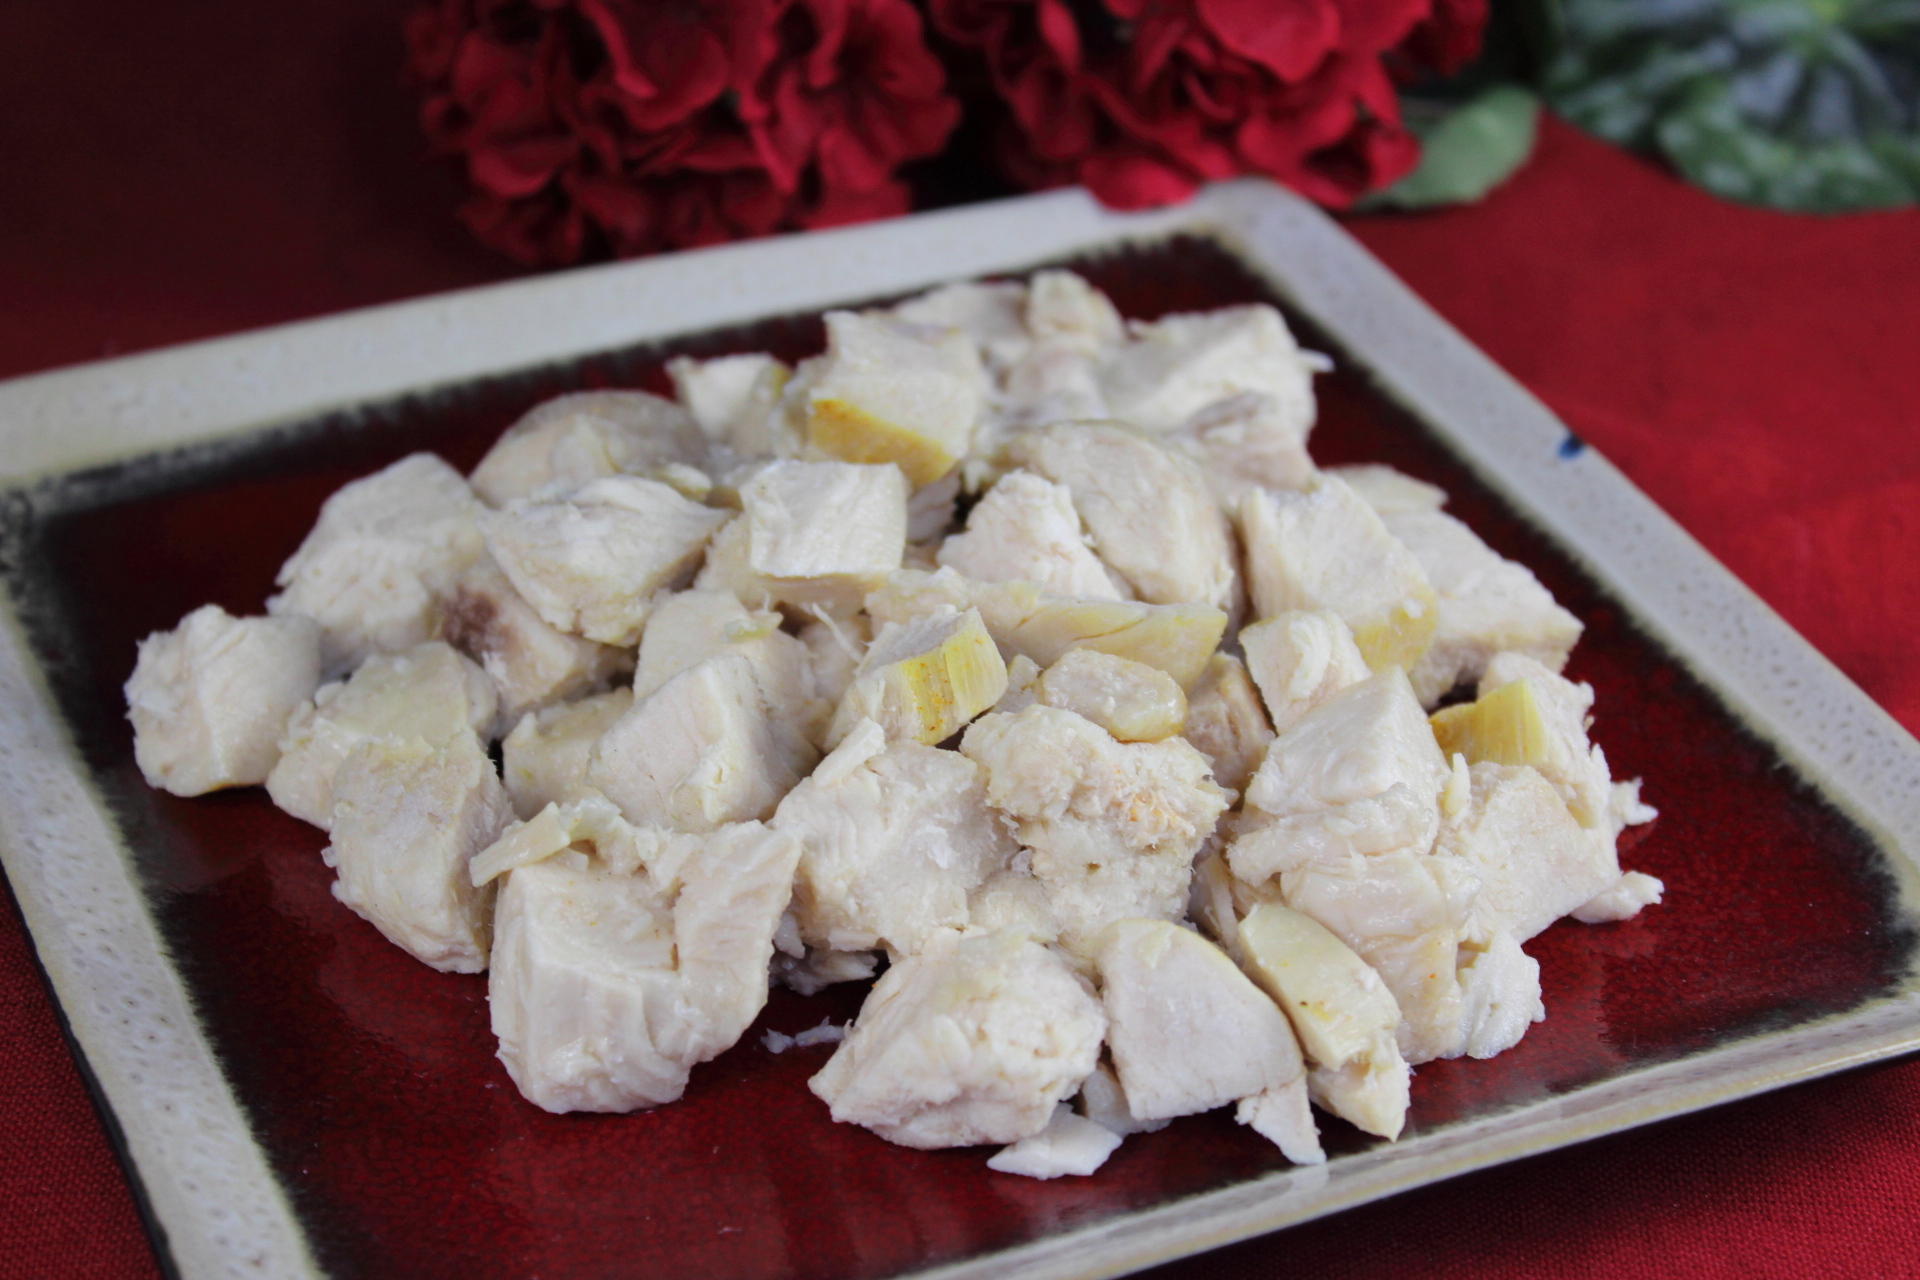
- Remove the chicken from the roasting bag to a cutting board and cut into cubes or slices, using a sharp knife. Collect in a large bowl.
- Pour the thickened chicken broth over the chicken pieces, tossing gently to avoid breaking the chicken pieces.
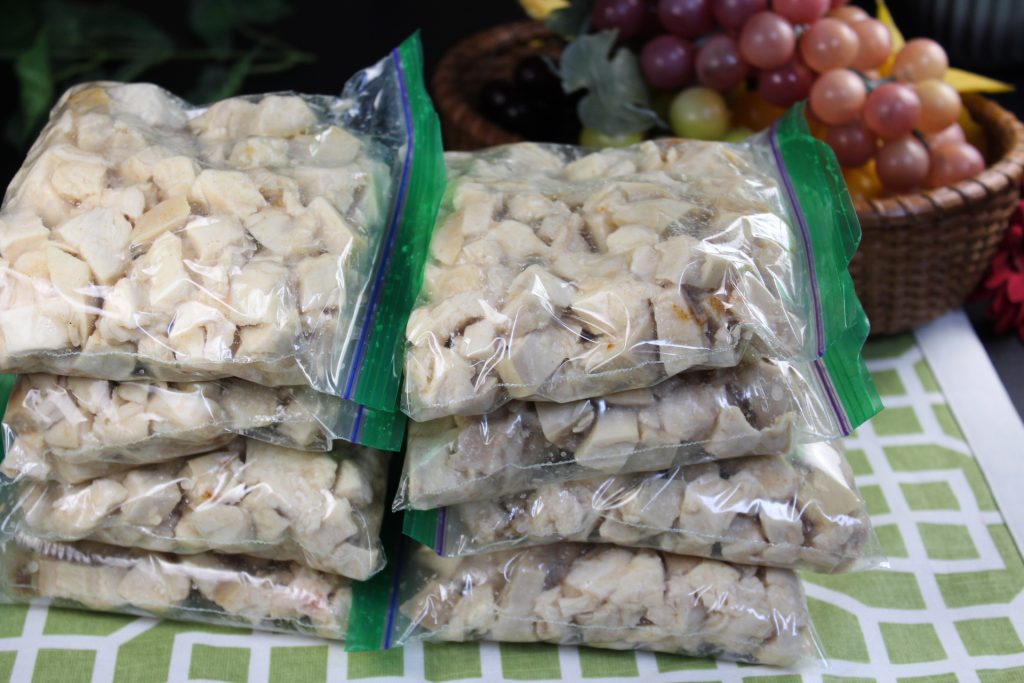
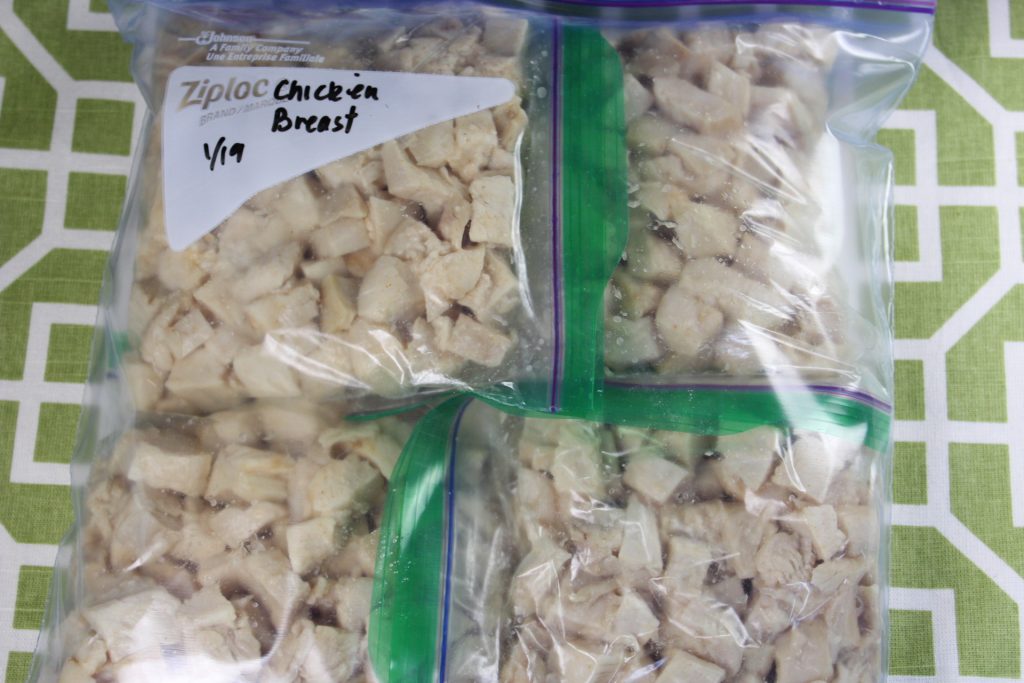
- Package in ten bags. Each will have the equivalent of 1 lb of raw chicken. I like to use zipper-seal sandwich bags for portion control and gallon size freezer bags for protection. Each gallon bag will fit 4 sandwich bags.
- Allow each gallon bag to freeze before stacking to ensure quick and safe freezing.
- When ready to use, start with one minute at full power in the microwave. Add an additional minute if the product needs more thawing--each microwave will be different.
- If you're adding the chicken to a soup, stew, casserole, etc, wait until close to the end of the cooking time to keep those beautiful pieces of chicken intact!