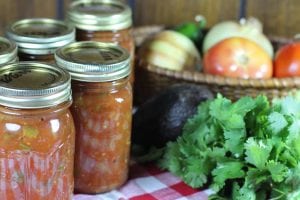
It's a great time of year to check out the garden or take advantage of a local farmer's market to create some truly cost-saving salsa. Many people can't justify home-canning in terms of dollars and cents, but salsa is a winner! And you can do it without help; the components can be prepared separately, then combined at the end. No temperamental fruit that discolors if you get distracted! And you can customize it to the flavors and "heat" profile your family prefers.
Part of the science of food preservation involves inactivating harmful microorganisms and spores 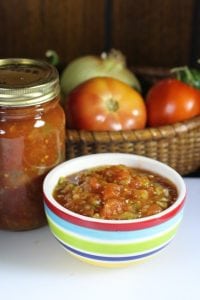 that cause food spoilage and can cause food-borne illness. These are killed by a combination of acid and heat. The higher the acid, the lower the risk of food spoilage (think pickles). The lower the acid, the higher the heat needs to be (possibly requiring pressure canning, but that's a post for a different day). Salsas contain both higher acid and lower acid components. As a former Advanced Master Food Preserver with my local University of Idaho Extension office, I had a front row seat to the many hundreds of calls Master Food Preservers field this time of year regarding the safety of specific salsa recipes. My favorite calls always started with "I know this isn't an approved recipe, but Great Aunt <insert name> made it for fifty years and nobody ever died." Hmm. . . If you want more feneral information about salsa, consult a source approved by the FDA; there are many on the web.
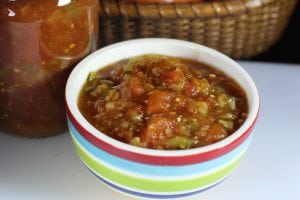
This recipe is modeled after a recipe published by the Pacific Northwest Extension Service, but has LESS total low-acid ingredients. Tomato paste has been added to the recipe for color and flavor and Ultra Gel® instant thickener has been added to improve the consistency. The processing time is also slightly longer to account for a thicker salsa.
A note about peppers and heat (the spicy kind): Few things are as "hotly" debated as how piquant a salsa should be. From a "heat" perspective, this recipe (according to my sensory taste panel) closely approximates the profile of Pace Medium salsa. Peppers vary amazingly in terms of "heat" and flavor based not only on their variety, but on their growing conditions and the parts of the pepper used. The best way I've found to standardize the heat in a salsa is to use pickled jalapenos as the base for the heat; they are much more consistent than their fresh counterparts.
If you want to experiment with heat, change the VARIETY of peppers, not the amount. For example, change up some or all of the jalapenos for serranoes or other hotter varieties, or include the seeds for more heat. Never use more peppers and onions than the approved recipe calls for. Also, do not reduce the amount of vinegar in the salsa mixture. If you want a milder vinegar flavor, try a cider vinegar rather than a white vinegar.
Calories
Fat
Carbs
Protein

Yields 552
 Save Recipe
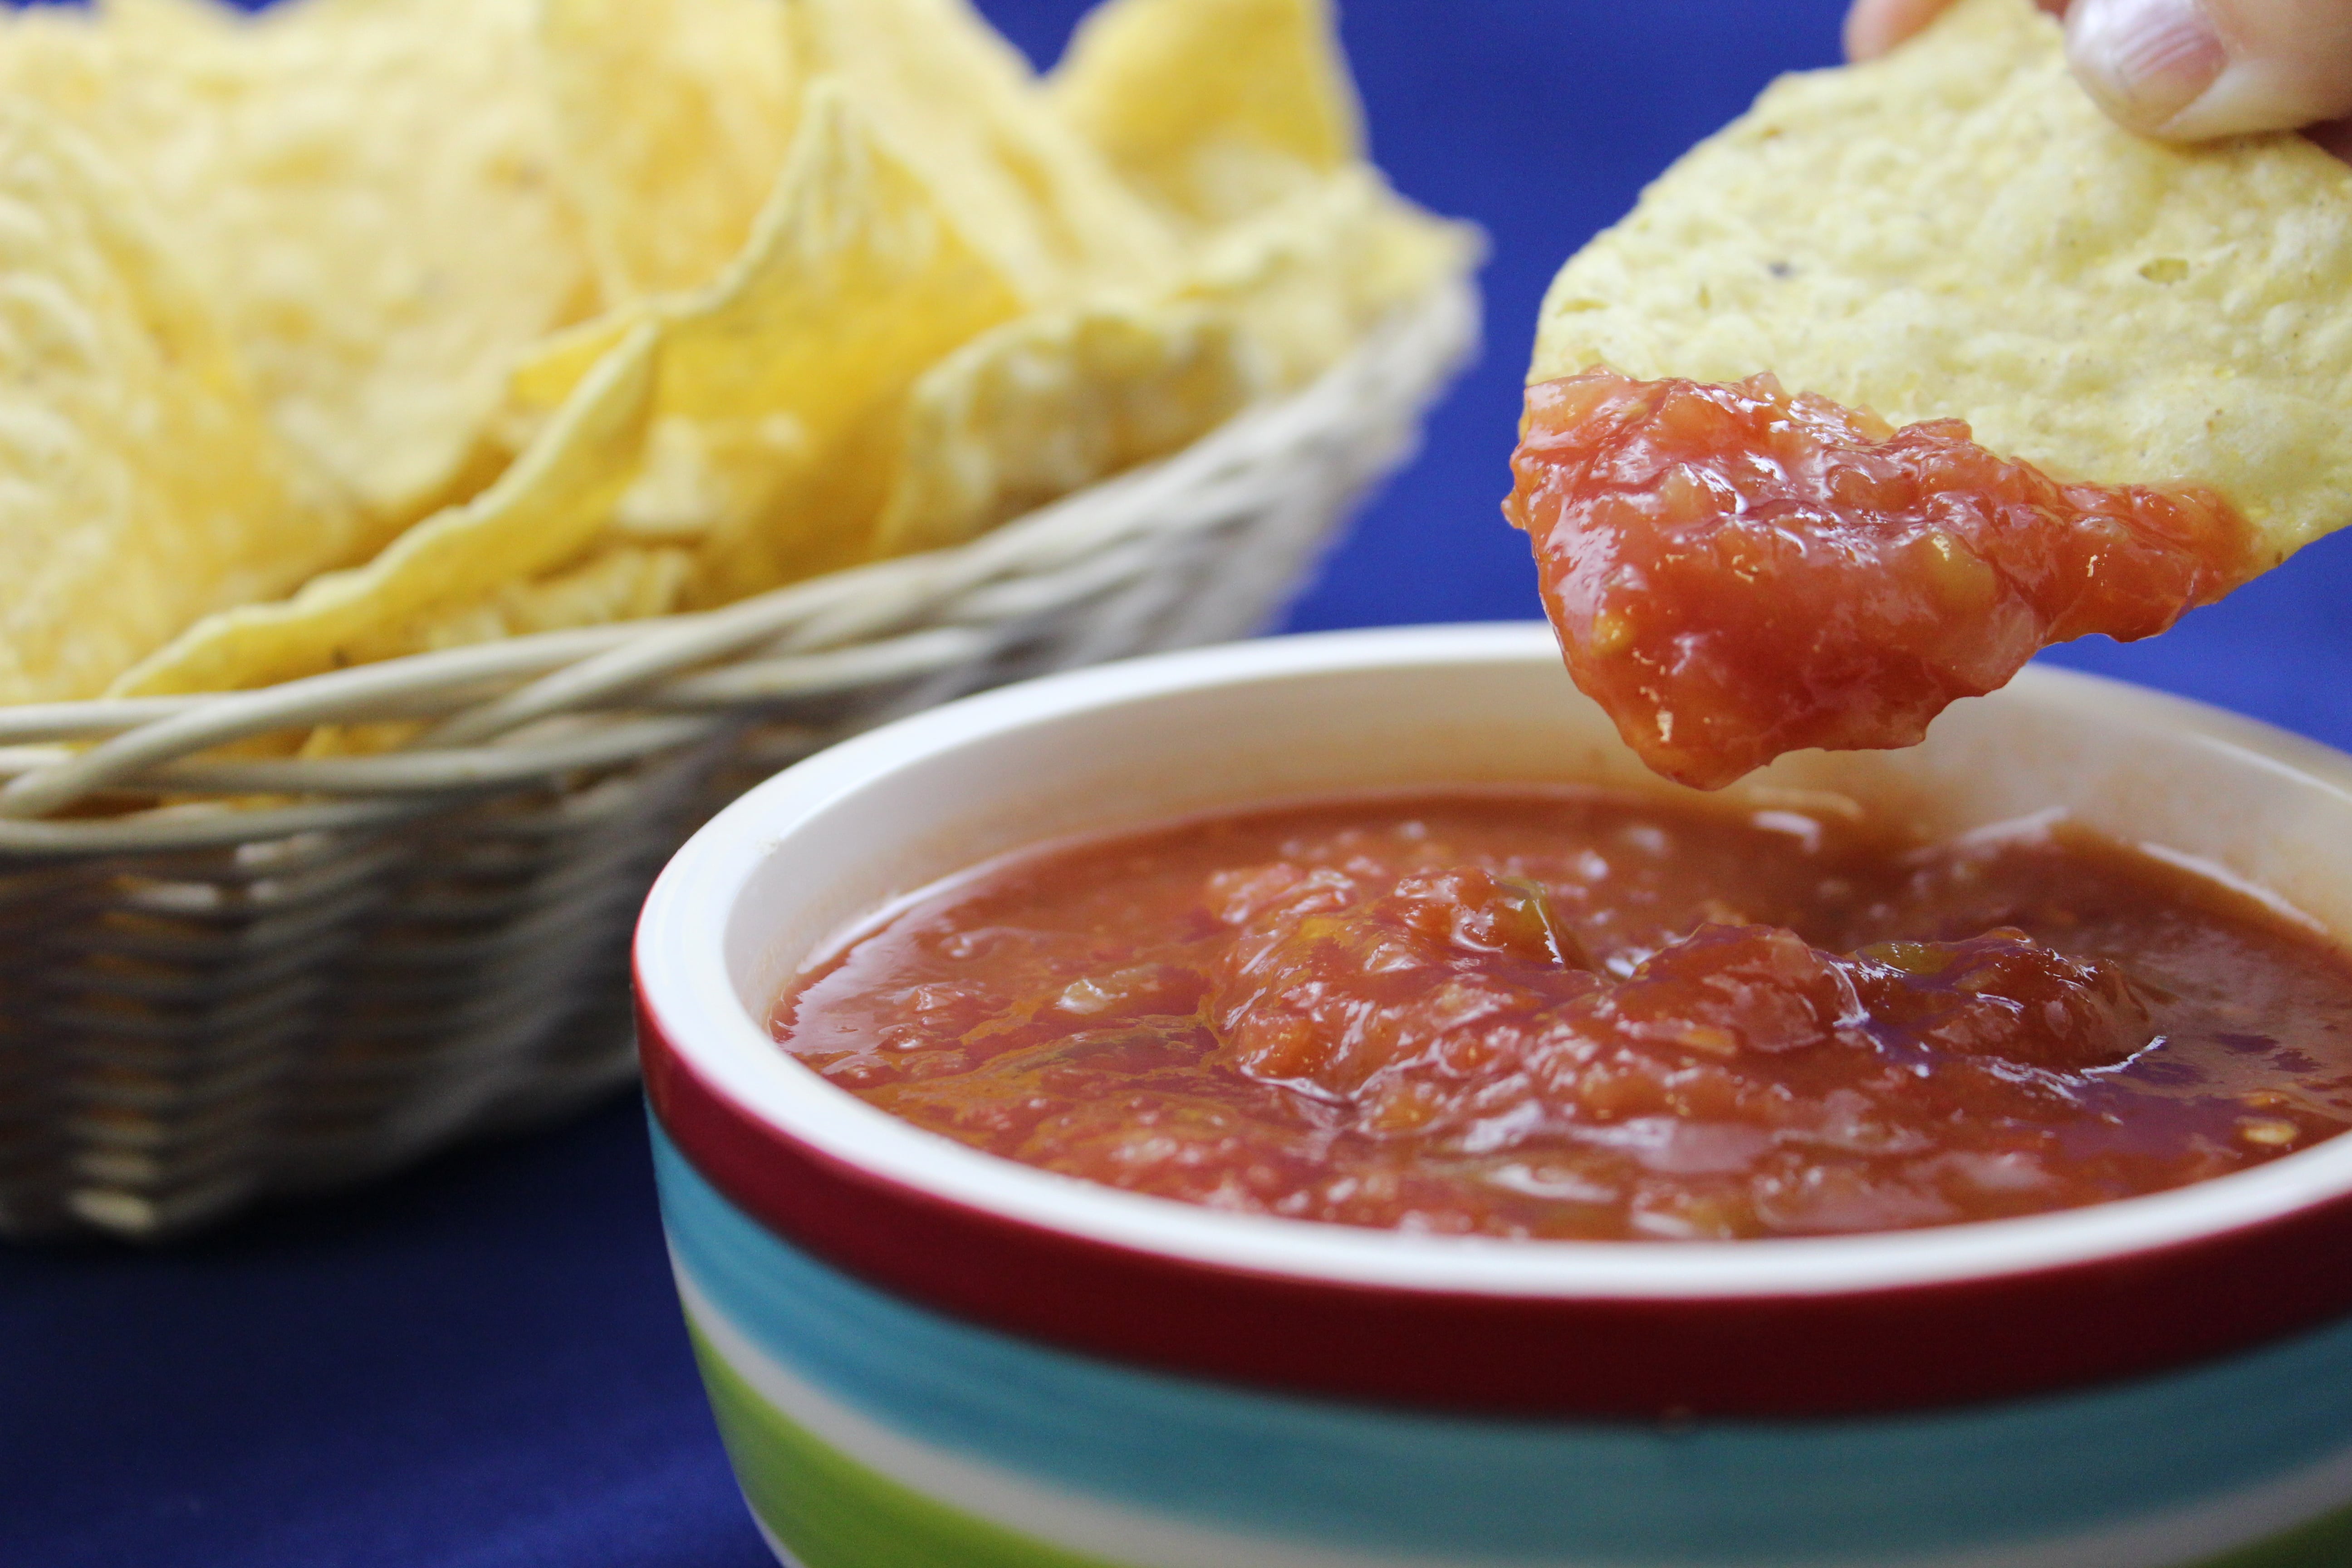
Ingredients
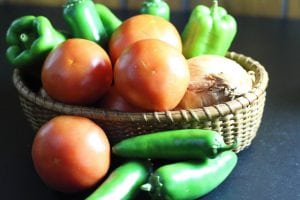
- 20 c. ripe tomatoes, peeled and diced
- 5 c. onions, peeled and chopped
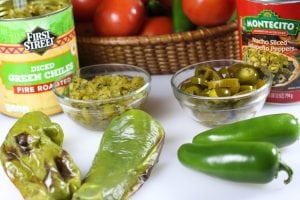
- 5 c. green chilies, roasted, seeded, peeled, and diced (or use diced commercial canned green chilies)
- 2 c. vinegar (I like apple cider vinegar)
- 1 c. pickled jalapenos, diced
- 4 T. salt
- 1 t. ground black pepper
- 2 T. garlic powder (not garlic salt)
- 1 1/2 c. tomato paste
- 2/3 c. Ultra Gel® (www.carnetfoods.com or Amazon.com)
Instructions
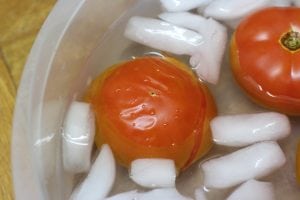
- Prepare a cold water bath of ice and water in a large bowl for cooling the blanched tomatoes.
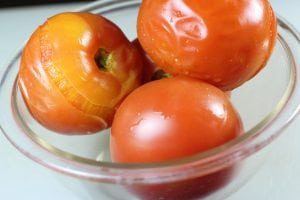
- Wash the tomatoes.
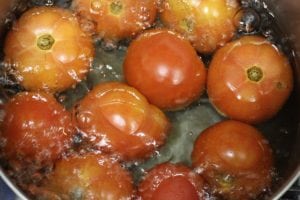
- Blanch the tomatoes by dipping them briefly in boiling water until the skins split. Transfer the tomatoes immediately from the boiling water to the cold water bath.
- Remove the skins as soon as the tomatoes are cool enough to handle. Remove the tomato core if hard. Place the peeled tomatoes in a large bowl.
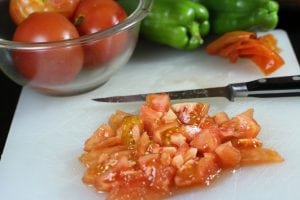
- Chop the tomatoes coarsely.
- Chop the jalapenos coarsely. Add the onions and continue to chop until the desired size.
- Chop the prepared or canned green chilies coarsely.
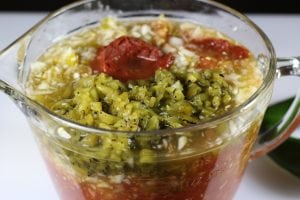
- Measure and combine all ingredients in a large pan.
- Bring the salsa mixture to a boil, stirring frequently. Turn down the heat and simmer for ten minutes until the salsa is at a boiling temperature throughout. Stir to prevent scorching.
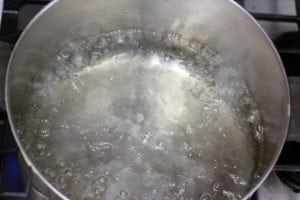
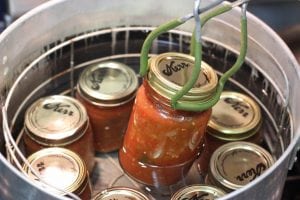
- Bring about 3 inches of water to a rolling boil in a "boiling water bath" (large thin pan used for processing fruits and tomatoes).
- Meanwhile, ladle the hot salsa into about 15 clean glass pint jars, leaving 1/2 inch headspace. Top each jar with a lid that has been prepared according to manufacturer's directions.
- Immediately add the jars to the boiling water, using a jar lifter for safety. Boiling water should cover the jars by at least 1 inch.
- Put the lid on the boiling water bath canner and process the jars for twenty minutes, keeping the water at a boil.
- Using the jar lifter, remove the jars to a tray for cooling.
TIPS:
When I'm ready to make salsa, I want to make a goodly amount to limit the number of days salsa takes over my kitchen and the amount of time, effort, and energy that goes into each bottle. So I try to get organized so I try to set things up like a mini-manufacturing plant. Here are some ideas to make the process go faster.
- I wash all the tomatoes first and set them aside, then thoroughly clean and bleach the sink and fill it most of the way with cold or even icy water for blanching many tomatoes at a time (in preparation for removing the skins--refer to the recipe.) It's easy to let out some water as it gets warm and add more cold water or ice.
- When the weather cools, I like the put the tomatoes outside to chill them thoroughly before blanching. The skins split easier when the tomatoes are cold.
I use an 8-quart pan for blanching the tomatoes; a Dutch-oven type (more shallow) pan seems to be easier to use than a tall soup pot. The boiling water should cover the tomatoes, although the tomatoes will keep coming to the top. Work in batches if you're alone; put a batch in the boiling water and watch them carefully; the riper and larger the tomato, the sooner the skin splits. (The skin of greener or smaller tomatoes may not split when the skin of other tomatoes does. Use your best judgment based on the size of the tomatoes, how long the tomatoes have been in the water, and how close they are in ripeness to other tomatoes in the batch.) Pull tomatoes out with a slotted spoon individually as soon as they are ready and transfer into the cold water. If you have help, you can keep a continuous process going and that speeds things up a ton! Add ice or cold water as hot tomatoes warm the cold water bath; the tomatoes are easier to handle and more appealing if they're not too hot and mushy from overcooking.
As soon as the tomatoes are cooled, start peeling them. If you leave them in the water too long, they will get waterlogged. While that isn't the end of the world, the salsa may be more watery and less flavorful.
If you are new to peeling tomatoes, here are some hints from someone who has peeled thousands of pounds of tomatoes:
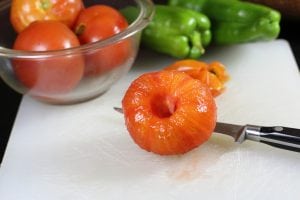
1.) Use a thin-bladed knife (I like a 5" boning knife), and sharpen it before you start.
2.)Many tomatoes have a tough "core" you will want to remove. Just use the tip of your newly sharpened knife and cut out the around the core--just down an inch or so. Then grab a corner of the peel between the knife blade and your thumb and pull it off. You shouldn't need to cut the peel off at all, unless there is a spot that isn't ripe.
After peeling, you can either dice the tomatoes and store them in a bowl or keep them whole to dice in a food processor later (my choice if I'm doing a lot). Be sure to refrigerate if you have to stop in the middle to take care of necessary tasks like fixing dinner or putting the kids to bed.
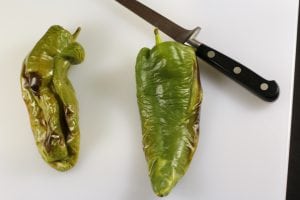
If you are using fresh green chile peppers, you will want to roast and peel them. There is no safety reason for peeling, but the skins are tough and not very palatable in the salsa. Wash the peppers and lay them on a foil-lined baking sheet. Put them toward the top of the oven, nearest the heating elements, and broil them, turning them as necessary, until all side are blistered. Then tuck the peppers into a paper bag to "steam" as this will help the skins come away from the flesh. Remove the peppers from the bag when cool enough to handle and strip the peel off with a sharp knife. It isn't a big deal if every little bit doesn't come off, but you will probably want little to no skin in the finished product. Cut the stem end off the peppers, split them, and remove the seeds if you like. The seeds will provide extra heat. I usually remove them in an effort to standardize the heat from one batch to the next, but it's up to you.
I rarely have enough Anaheim chilies in my garden to do multiples batches of salsa, so I usually find myself supplementing with canned chilies from my nearby restaurant supply store. I also find large cans of pickled jalapenos there. I'm always delighted when I can find the canned chilies in a diced form; if not, a few whirls of the food processor or a chef's knife does the job.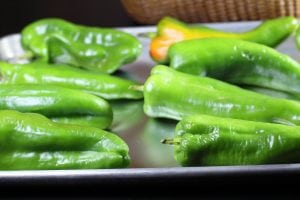


It's all downhill from this point. Take a few minutes to dice the onions by hand or in a food processor. (I dice enough for several batches at once and store them in the refrigerator in Ziploc bags; only one cleanup!) If I'm using fresh jalapenos, they go in the food processor at the same time as the onions.
Measure all the ingredients and turn into a heavy 8-quart pan or Dutch oven. Heat to a boil, stirring occasionally to prevent scorching. As the tomatoes heat, they will release juice and the mixture will become much thinner. Simmer for ten minutes to make sure everything is at boiling temperatures. Meanwhile, add water to the boiling water bath pan you will use for processing and get it on the way to a good, rolling boil.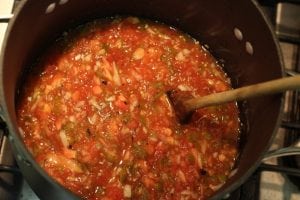
Ladle the hot salsa into prepared jars, add the commercial "flats" and rings, and tighten snugly, using hot pads to protect your hands. Put the filled jars into the boiling water bath. If, for some reason, the salsa cools before it is ladled into jars and "processed" in the boiling water bath---interruptions, late nights, etc.--be sure to bring the salsa back to a boil and simmer ten minutes before ladling into the jars to ensure a safe product that will keep well.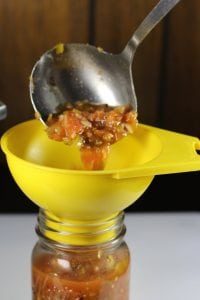 Process in the boiling water bath according to the recipe instructions.
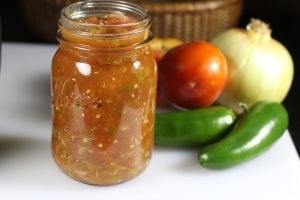
When the jars are cool, you can remove the rings and wash off the jars if needed. Label with the date and store for future use. You've just opened the door to a multitude of meals and snacks! Thinking of something like chicken breasts with salsa cooked in the Instapot with sour cream served over brown rice topped with diced tomatoes, black beans, green peppers, and cheese. . . But that's a post for another day. Stay posted!!